Turning an image into a hyperlink is a simple process.
- Insert an image into your page using one of the methods outlined in the "Uploading files > Images" chapter.
- Click on the image, and with the image selected click on the "Link" icon (it is supposed to look like two chain links)
 .
. 
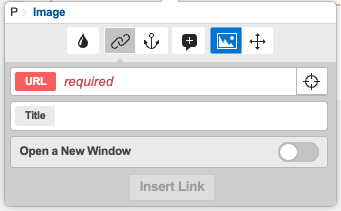
- If you are linking to another asset (another page within the site or a file), click on the crosshair
 to the right of the URL field. This will highlight the asset tree. Then, right-click the asset you would like to link to and click 'Use Me' (if you already know the Asset ID of the asset you'd like to link to you can simply type it into the URL box).
 If you are linking to an external website simply type, or paste the full link (including http:// or https://) in to the URL box.
- Ignore the "Title" and "Open a New Window" fields.
- Once your link is ready to be inserted, press the "Apply Changes" button.
- The text you highlighted will now appear blue and underlined in the WYSIWYG editor, indicating that it is now a link.
- Try switching to preview mode (by clicking the eye icon
 in the screen header)and testing the link.
 - You can edit a link by clicking on the linked text and then clicking the "Link" icon again. You can also remove a link by clicking your cursor within the linked text and then clicking the broken chain icon
 .
. - Remember to save your changes!