Sometimes the easiest way to present information is in a table consisting of rows and columns.
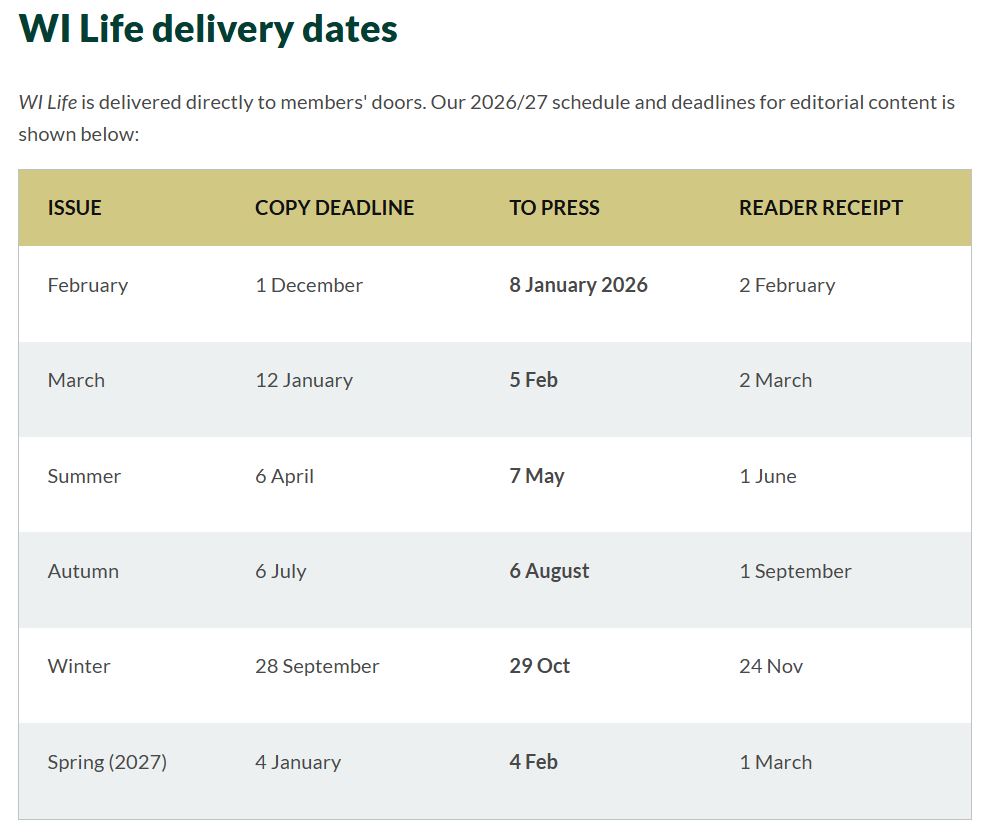
Take the WI Life delivery schedule for example. We could display it as a table making full use of the width of the page, or we could display it line-by line. The tabular version is easy to read and might save visitors from some unnecessary scrolling as well.
 Matrix CMS has quite a powerful tables tool, but be warned it might take a bit of trial and error before you start to fully understand the tool.
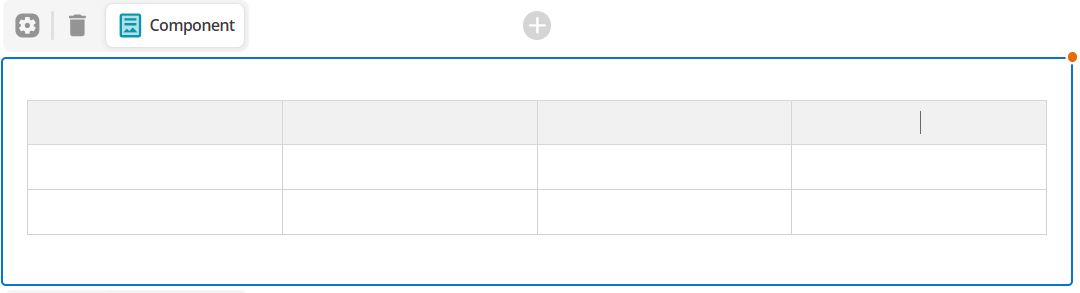
- To insert a table simply navigate to the Content Component that you'd like to insert a table in to, click the mouse cursor in the box and then click on the "Insert Table" icon in the WYSIWYG toolbar.

- You will see a pop-up like the below. Choose the number of rows and columns you would like, and select the position of the header.

Tip: Selecting the top row as header will make the row appear in the "WI Dapple Shade" colour, selecting any other row or column will make the header text appear bold.
In general, alternate rows in the table will have shading to help guide the eye along the page (this is called colour banding).
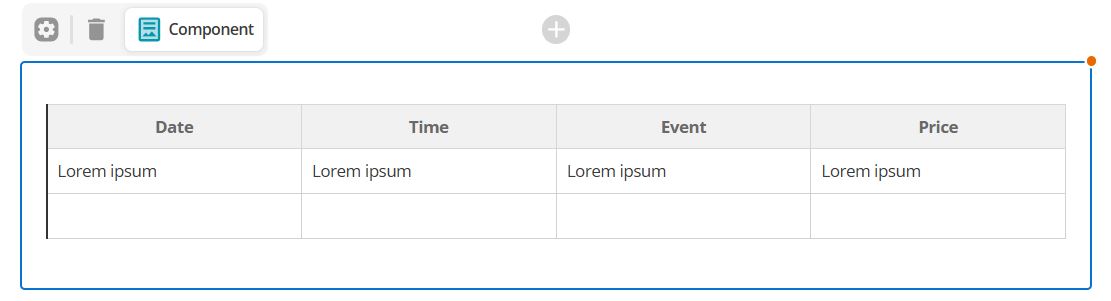
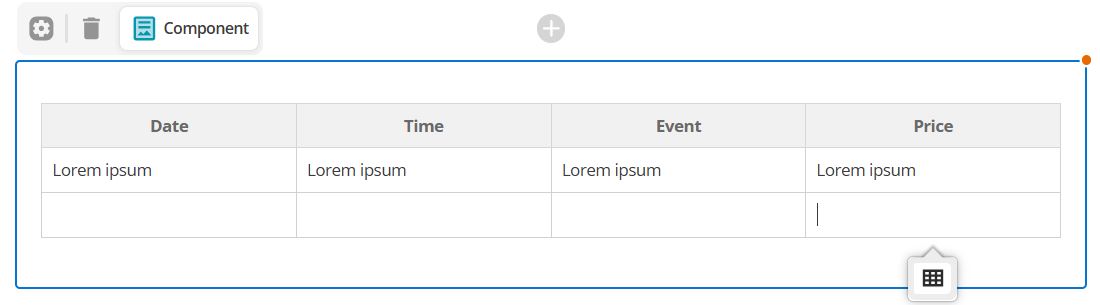
- Once you have chosen your table size and heading position, click "Insert Table" to create an empty table in your content container. You can now enter your details.
Edit table settings
Once a table has been inserted you can modify its settings by clicking on the table and clicking the "Insert Table" icon.
 You will be able to select to modify either the entire table or the selected row, column or cell.
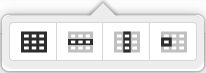
The settings allow you to define the width of the table; specify a table summary; insert a caption for the table; insert and move rows and columns; merge and split cells; add CSS classes; add headers; and delete rows, columns, cells or the entire table.
Table settings
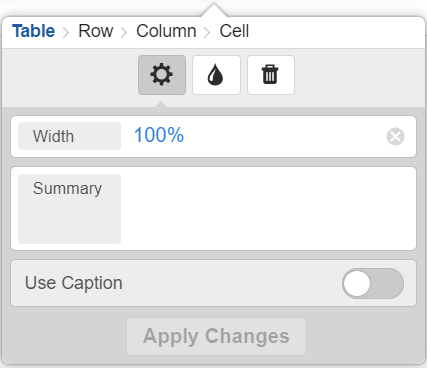
Width
Set the width of your table e.g. 100% will fit the width of the page
Summary
A table summary can be used to as alternative text to summarise the content of the table. This will not be displayed on the front-end of your page.
Caption
If you select "Use Caption" and click on "Apply Changes", you will see a gray text-box above your table where you can enter your caption. On the front-end, your caption will appear below the table.
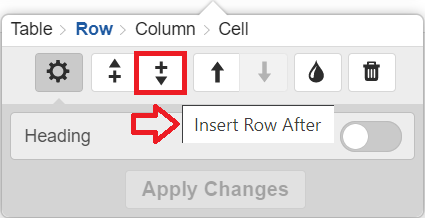
Row settings
The row options (from left to right) are:
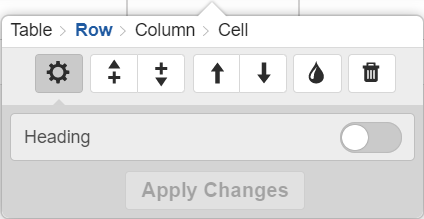
- Settings- toggle row heading
- Insert row above
- Insert row below
- Move row up
- Move row down
- Add CSS class
- Delete row
Column settings
The column options (from left to right) are:
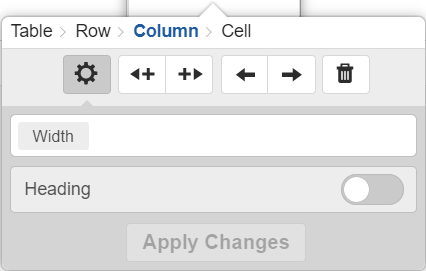
- Settings- set column width and heading
- Insert column to the left
- Insert column to the right
- Move column left
- Move column right
- Delete column
Cell settings
The cell options (from left to right) are:
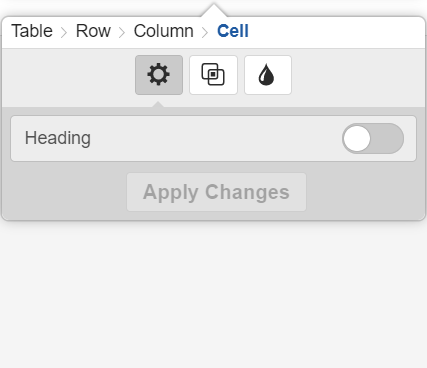
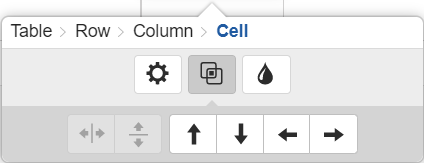
Toggle Merge/Split options
- Split vertically
- Split horizontally
- Merge up
- Merge down
- Merge left
- Merge right
Tip: Only cells that have been merged together can be split.
If you are unsure of what an icon/button means, simply hover over it to see a description.
If you have any questions or issues, please don't hesitate to get in touch with o.li@nfwi.org.uk